BuzzSliders, commonly known as slideshows, are a very creative, effective and cool way of incorporating pictures and infographics in your BuzzCast or BuzzPost. Buzz n Beat equips you with very user-friendly and extremely powerful BuzzSlider creation system.
Let’s walkthrough, step by step, to create your BuzzSlider and embed it in your BuzzPost.
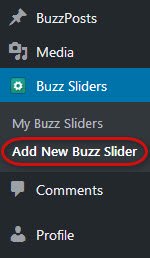
- While in your Admin Panel, hover mouse over BuzzSliders and click Add New BuzzSlider on the sub-menu.
- Now you’re on the BuzzSlider creation page.
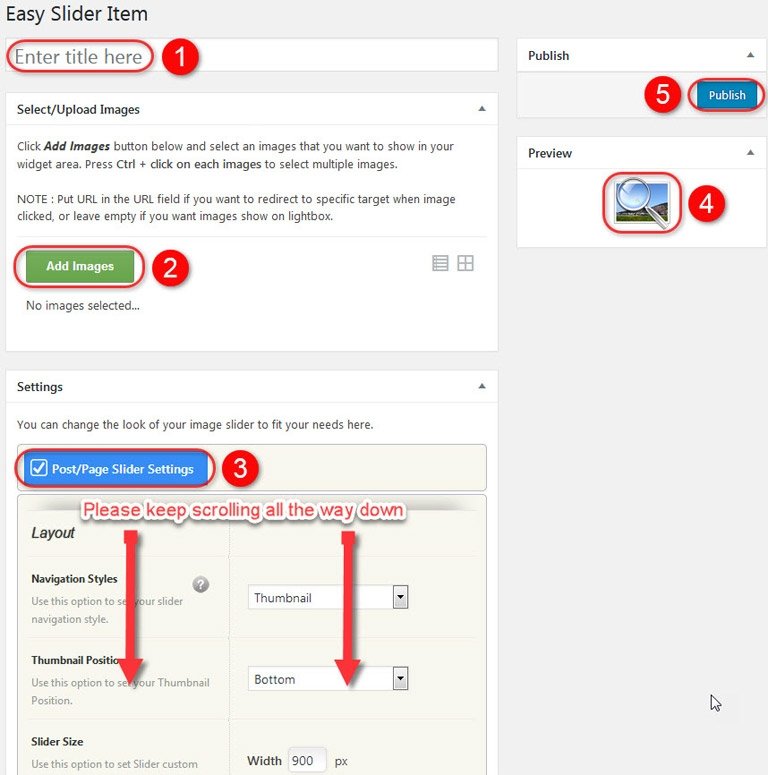
Enter a title for your BuzzSlider. This title only appears on the Admin Panel for you to identify your BuzzSlider. It doesn’t appear on the front end.
Click this button to select/upload the images that you want to include in the BuzzSlider.
Once you’ve inserted the images, each image will appear in this section along with the following options:
- Title: By default this textbox will be populated with the file name of the image. It’s advisable to replace the file with a more meaningful title.
- URL: If you would like to link this image to a webpage then enter the full URL starting with http:// in this textbox. You can use this functionality to direct the readers to a specific BuzzPost, BuzzChannel or even your Author’s Page or Profile Page. You can also link to an external webpage but please make sure that the destination page doesn’t violate Buzz n Beat’s Code of Conduct and Acceptable Content Policy.
- Target Settings: Checking the Target Blank checkbox will open the above mentioned URL in a new tab or window. It’s advisable to check this box so that the reader clicking the link can easily come back to your BuzzPost.
- This section let’s you configure different aspects of your BuzzSlider, ranging from dimensions and animation effects to social sharing. It’s wise to take some time and go through all the settings. In some areas you’ll find lots of options in the form of dropdowns. You’re creating this slider to maximize the impact of your BuzzPost,therefore, it’s advisable that you try different options and preview the BuzzSlider before finalizing it.
- In the Advanced section of the settings, you’ll be asked to enter your Facebook App ID. If you have one, please enter it here. However, if you don’t have one and do not have enough time to create it then don’t worry, just leave it blank.
As you set up your BuzzSlider, use the Preview button to see how it will appear on the frontend.
Once you’re happy with your BuzzSlider, click the Publish button.
Hurray! Now you own an awesome BuzzSlider that you can embed in multiple BuzzCasts and BuzzPosts.
Embed your BuzzSlider in your BuzzPost
Let’s embed the BuzzSlider that you just created, in your BuzzPost.
- Click My BuzzSliders link in the left column.

- All your BuzzSlider are listed on this page along with their shortcodes.
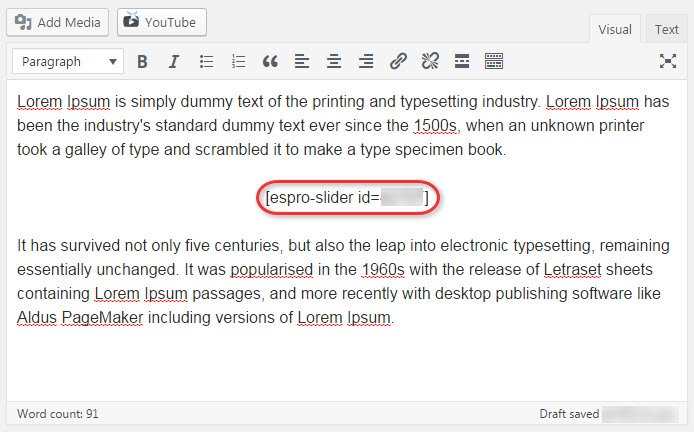
- Click the shortcode that you want to use. It’ll copy the shortcode onto the clipboard.
- Go to you BuzzPost Editor and paste it on its own line at the point where you want it to appear.
- Preview your BuzzPost.
- Save or Publish.
Congratulations! The BuzzPost that you wrote in English, is now multi-lingual, because visuals speak to every reader/viewer in their own language.
- How To Manage Your Author Profile - January 1, 2017
- How To Create Stunning BuzzSliders For Your BuzzCasts & BuzzPosts - January 1, 2017
- How To BuzzCast On BuzzChannels – Step by Step - January 1, 2017
